
Good things take time; HEIC file (High-efficiency image format) is a relatively new file format developed in 2017 by Apple with its macOS software update. So, it may take sometime years before HEIC images become mainstream.
HEIC image file format is only limited to the Apple ecosystem. As a result, other devices, like Android, etc., may have compatibility issues accessing HEIC files. Therefore, if you want to send HEIC files to other devices, you may have to convert HEIC to JPG format.
If Mac users want to share multiple HEIC images with another device, there are workarounds and methods to switch the file format to JPG format. You can convert HEIC files to JPG files using native apps like the Preview or Photos app. This article describes all the effective methods to convert HEIC to JPG on Mac.
Table of Contents
What is HEIC Image File Format?
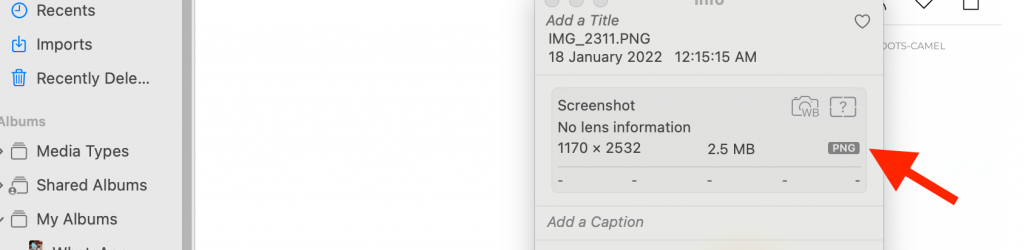
HEIC format (High-efficiency Image Container) is a default format used by Apple devices such as Mac computers and iPhone cameras. The HEIC files offer high compression with excellent image quality and use little storage space.
You don’t have to convert HEIC files to JPG if you share them with any other Apple device. However, if you want to share them with another device, you may need to convert HEIC to JPG on Mac as these devices don’t support HEIC files.
To convert HEIC to JPG on Mac, ensure your Mac has enough storage space. The JPG images have larger file sizes and occupy more space than HEIC images while preserving the same quality.
7 Ways to Convert HEIC to JPG on Mac
To open HEIC files to other devices, you must know how to convert HEIC to JPG on Mac. Here are some ways for Mac users to change HEIC photos into JPG format.
Convert HEIC to JPG Through Preview App
The default app for accessing, viewing, and editing photos and other documents are preview app. You can bulk convert HEIC images to JPG files.
The preview app allows you not only lets you view but also to edit, convert, sign, and watermark the HEIC photos. Follow the steps mentioned below to change the HEIC file into JPG.
- Open the Preview on your Mac. You can find it by simply clicking on the finder window of the applications folder. Just select a folder or file. You can also access the Preview by searching it from the Spotlight Search, tapping on Command + Space

- Find and choose the HEIC file you wish to convert into JPG
- Tap on “Open”
- The select HEIC file will be opened in the Preview.
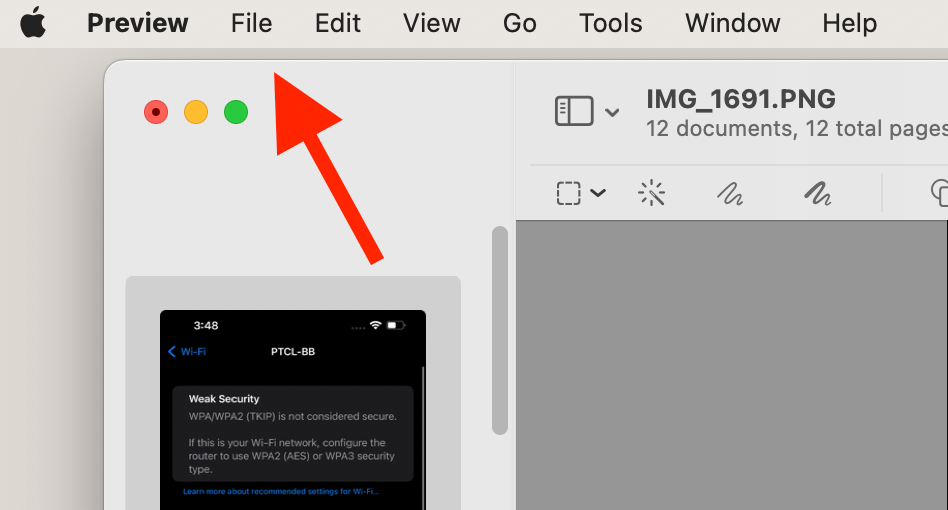
- Click on the option “File” in the screen’s toolbar at the top corner. Then, to convert HEIC to JPG, click “Export” in the dropdown menu.

- A pop-up menu will open with the HEIC file details
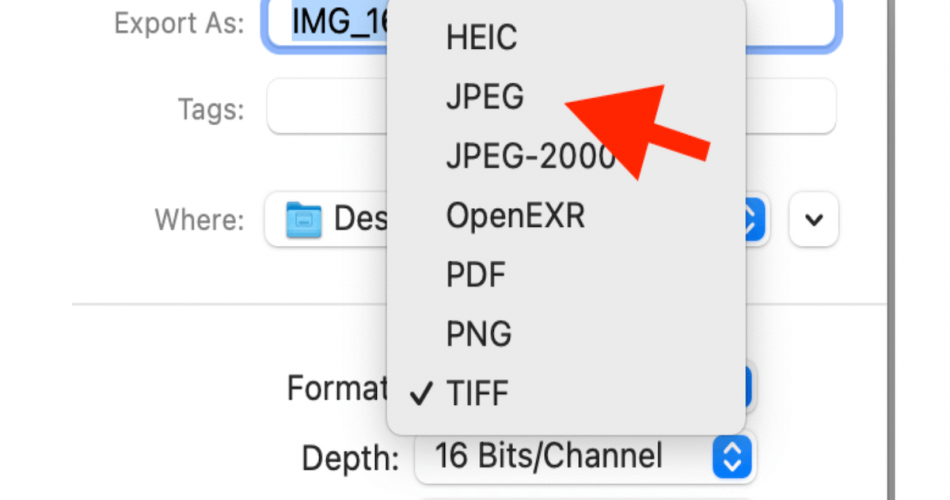
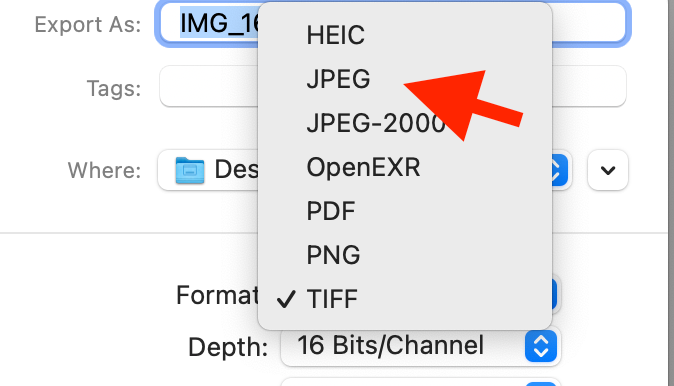
- Click on the arrows next to the option “Format.”
- Select the option “JPEG” in the dropdown menu
- Change the file title you want to convert from HEIC to JPG through the textbox from the top. You can also decide the location where you want the JPG file to be saved from the dropdown menu next to the option “Where.”
- Choose “JPEG” as the file format and click “Save.”
- The converted JPG file will be saved to the selected folder.
Convert Multiple HEIC Files from the Preview App
The process is the same if you want to convert multiple HEIC files into JPG format. However, you must open HEIC documents in the preview app, export them into the JPG, and save them on the finder. Refer to the steps below;
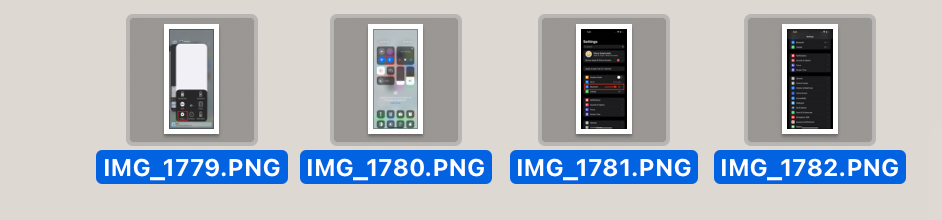
- Select all the photos to convert multiple HEIC images and right-click, and a menu will appear. Then, select the “Open With” option followed by the “Preview” option.
- Select the HEIC photos in the Preview or Command + A; all your selected images will be added to the Preview Sidebar.
- From the menu bar, click the “Export Selected Images” option
- Under this option, click “Format to JPEG.” You can also adjust the image resolution from a quality slider.
- Tap on “Convert HEIC Photos into JPEG”
Convert HEIC Photo to JPG from Photos App
The photos app is among the most popular and most used viewing and editing app for Mac. The app offers two ways for Mac users to convert HEIC to JPG.
The two methods to change HEIC file format into JPG are;
- Every HEIC file transferred into your Mac can easily be converted into JPG by simply dragging and dropping.
- If you export HEIC images from your Mac, the photos app lets you set preferences of the image’s quality, file format, size, etc. You can do it by following the steps listed below;
- If you want to batch convert HEIC to JPG, select the multiple photos from the photos library
- Tap on the file menu and click on “Export,” and export the selected files at the top menu bar
- See the image type and other quality options like resolution, size, quality, and profile.
- Tap on the “Export” button and click “Save.”
Change HEIC File Format to JPG from Automator
Another excellent method for converting HEIC to JPG is using the Automator app. It’s a default HEIC to JPG converter. It’s straightforward, allowing you to rename the files in batch, change folders, filter files, and much more.
The Automator app is a convenient HEIC converter that automatically converts HEIC files to JPG from the right-click menu.
Follow the steps listed below to convert HEIC to JPG automatically;
- Open the finder and tap on the applications folder
- There, select the Automator app
- Tap on “Quick Action” and then click on “Choose.”
- Search the option “Copy Finder Items.” Double-click on it.
- Choose the destination where you would like to save the converted file
- Once done, select the “Change Image File Type” in the option
- Select JPG as the format from the menu
- Lastly, click on the file and click “Save.”
Use the iMazing HEIC Converterr
Another way for HEIC conversion into JPG is using online HEIC converters. And iMazing HEIC converter is an effective and convenient tool. The iMazing HEIC converter allows users more control over the conversion settings. Here is how to use this online converter;
- Install and launch the iMazing HEIC Converter on your Mac
- Upload or drag and drop the HEIC photos in the converter app
- Select the format such as JPG or PNG
- Choose the quality and file size of the image from the quality slider
- Tap on “Convert” and decide the location to save the converted file
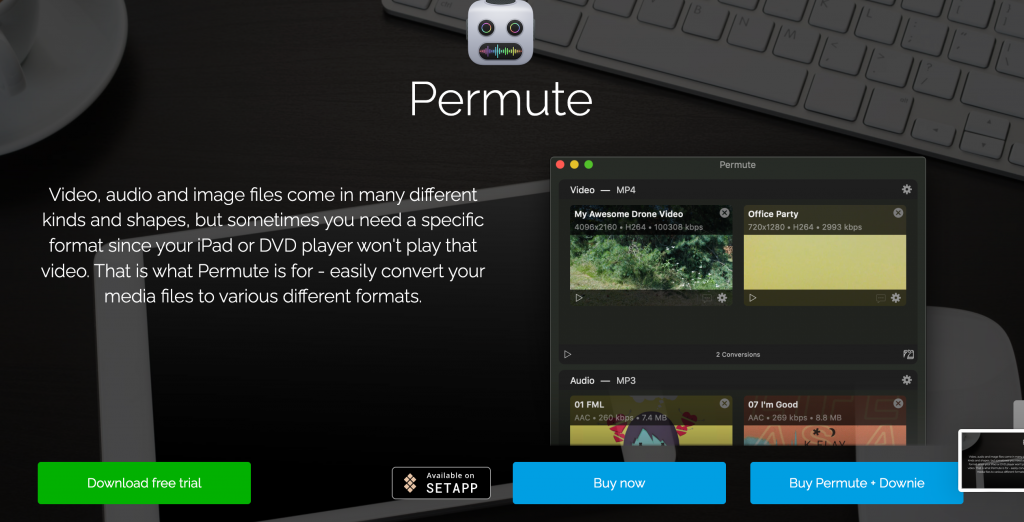
Change HEIF Format to JPG from Permute App
Permute app is another fantastic online and free HEIC to JPG converter for Mac. It allows users to convert their images, videos, and audio into compatible formats. It’s one of the excellent free online HEIC converters that allows you to convert HEIC to JPEG with a single click easily. Refer to the steps below;
- Install and launch the permute app on your Mac. You can also find it in the “Set App” application folder.
- Select, copy, drag, and drop the HEIC images into the permute window.
- Click the “Start” button to convert HEIC to JPG on Mac.
HEIC to JPG Conversion through Online Site
Several online and free third-party tools allow you to convert HEIC to JPG. As iPhone users with Mac, you can share HEIC images to devices that don’t support HEIC format by converting them to JPG on online tools.
The third-party tools are easy to use; all you have to do is upload your HEIC file and let the tool do its work. One of the easy, free, and simple HEIC converter sites is heictojpg.com. Here is how to do it;
- Open Safari on your iPhone
- On the search bar, type heictojpg.com and click “Enter”
- Tap on the (+) icon and select the images you wish to convert to JPEG
- Click on the “Download Now” button to download the converted file
Final Words
Not every device supports HEIC files. Hence, this calls for restrictions on accessing high-quality files if you are not an Apple user. So, whether you want to share your HEIC photo with a friend from Mac or iPhone, the seven ways explained here can help you.