

Gone are the days when a person had to hire a professional photographer to get high-quality photos. Nowadays, taking professional photos is just a few clicks away. In addition, smartphones have made it relatively easy to take professional-level photos and videos.
One feature that attracts people to buy any Apple device is its excellent, high-quality rear camera. iPad and iPhone users can take wonderful and highly-resolute pictures with the front camera.
In addition, the quality filters add a professional touch to the iPad and iPhone camera app. However, a minor software or hardware problem can lead to a camera issue as time passes.
IPad and iPhone users have reported that after the software update of the latest iOS 12, one of the most common issues they face is the iPhone camera not working.
Table of Contents
Why is Your iPad Camera not Working
There are various reasons behind the iPad camera not working. However, before you start trying to fix problems with your camera app, it is essential to address the leading cause of it.
The possible culprit behind the iPad camera issue could be:
- Camera black screen problem
- Unable to switch cameras (front and back)
- The camera shutter is not opening
- Camera app crashing
- The camera lens blurred out
- Dirt, debris, or particles blocking out the lens
- The camera app features not showing up
- Outdated iPadOS
- The camera flash is not working
8 Methods to Fix iPhone or iPad Camera not Working
So, if you’ve found yourself surfing through Google to find a solution to fix Apple devices, including iPhone, iPad, or iPod Touch cameras not working, then this article is for you. Read on to find some quick fixes you can follow to make the Apple camera app work.
Clean Your iPad Camera
There are thousands of dust particles in the air. And they are so small that they can quickly enter the tiniest holes, even at the corners of your camera. In addition, Apple devices like iPhone, iPad, and iPod are delicate.
As a result, it is easy for the dust particle to accumulate around the camera lens corner. If you have a black camera screen, then it may be possible that dust and debris have jammed your camera lens. We suggest cleaning your front and back camera with a microfiber cloth to eliminate dust particles.
- Restart Your iPad
If you still face the ‘your iPad camera not working’ problem on your device, a quick restart can fix it. The best part is that this won’t result in any data loss. To force restart your device, follow these steps depending on your Pad’s model:
iPad with a Home Button
If you have an iPad with a home button in the center, you can restart it by the following steps:
- Press the button on the top of the device until you see the ‘slide to power off’ option
- Swipe it toward the right to turn off your device
iPad without a Home Button
If your iPad doesn’t have a home button, you can turn it off by following these steps:
- Hold the volume up button for a few seconds and let it go
- Then hold the volume down button and let it go after a few seconds
- Lastly, keep pressing the top button till you see an Apple logo, and then let it go
- Your iPad will restart
A slider, “Swipe to Turn Off,” appears on the screen. Swipe right on the slide to turn off your iPad.
Then click and hold the “Power Button” till an Apple logo appears on the screen. Once the Apple logo appears on the restore screen, your device is restarted, and the problem is resolved. After your iPad reboots, open the camera app and check if the camera works now.
Remove Screen Barriers
iOS devices are best known to be highly delicate and fragile gadgets. Your iPhone or iPad needs a thick protective back case and screen protector if you want to prevent any hardware damage. So, it’s common for iOS users to have issues and screen back protectors to secure their iPhones or iPad from breaking.
However, these cases and screen protectors do not always have precise cutouts and pattern structures. One of the reasons behind the camera not working is the unprecise case or wide screen protector. They could block the light or put too much pressure on the lens.
So, remove any case or protector and clear your camera with a microfiber cloth to remove any dirt or dust. Once done, check if it’s working correctly now.
Download the Latest iOS Update
Most of the time, it’s common for a camera to stop working after a new iOS update. It happens mainly because apps and features in your iPad are refreshed, which could result in some bug or glitch in a software update, preventing the camera from working.
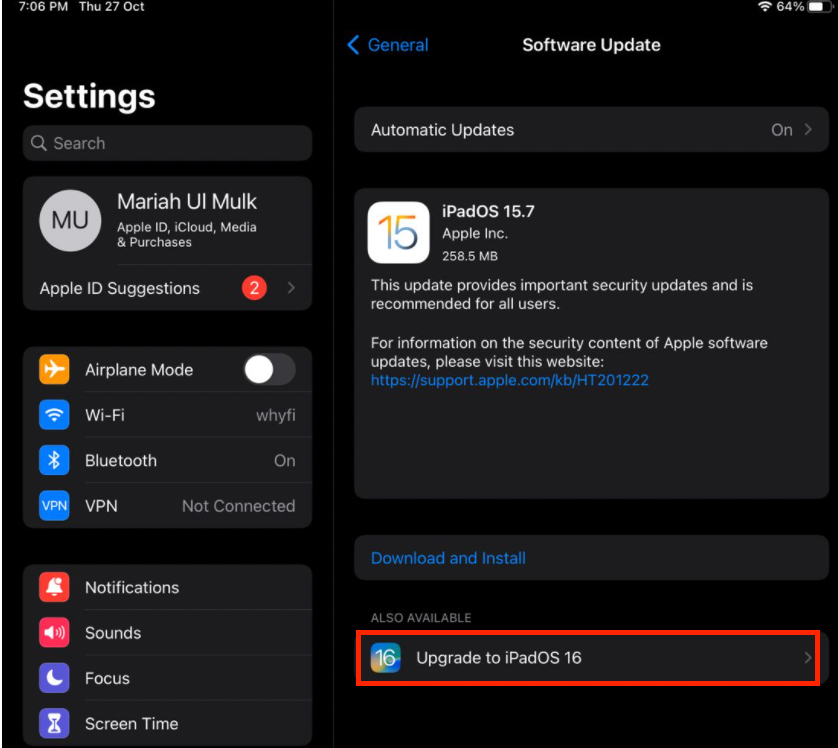
To fix the camera on your iPad, you must check and download the latest version of the iOS update. Follow these steps:
- Go to the Settings app
- Enter General
- Tap on Software Updates to see if any latest updates are available and proceed.
Close All the Apps
We usually don’t realize it, but the other apps could be causing the iPad camera not to work. Other apps contain bugs and glitches that can cause the camera not to work.
If your iPad’s camera is not working only when a specific app is opened, then there could be the activity of a third-party app. For example, a third-party app could restrict the camera from functioning normally.
Third-party apps include Whatsapp, FaceTime, Snapchat, Zoom, Skype, etc. To see if that’s the reason behind the camera problem, close the specific apps and see if the issue is fixed.
- Open the Settings app and tap on Privacy.
- Open “Apps” or “Applications” and Scroll down to the specific app that has camera access
- You can drag the bar to the right side to turn the access off

Reset All Settings
If you’ve recently updated your iPad or changed its settings, it might be why your camera isn’t working. Another simple method to resolve this issue is to reset all the device settings to factory defaults.
To reset your device to the default settings, follow these steps:
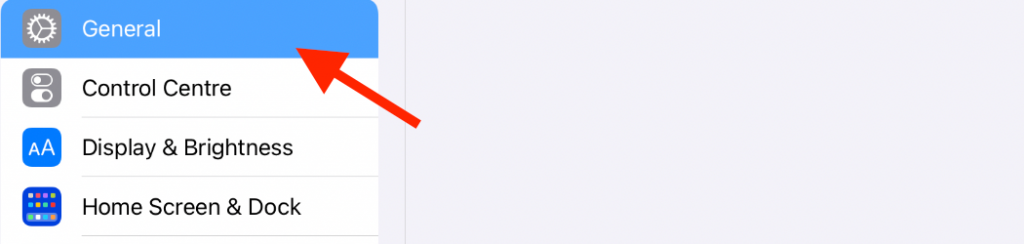
- First, open the Settings app on your iPad and tap General.
- Next, scroll a little to find the Reset Section. Tap the reset option.
- After clicking, a warning dialogue box will appear on your screen to confirm if you want to reset the device.
- Next, tap on “Reset All Settings.” Step-by-step instructions will be displayed for resetting.
Remember that the settings reset will not wipe out all the data from your iOS device. It will only remove the data of your network settings.
Put Your iPad in DFU Mode
You can run DFU mode on your iPad, iPhone, or iPod Touch if none of the above fixes work. Doing this will remove and restore all the data on your iPad and help restart the camera. Restoring a device through DFU mode is suitable for fixing software bugs.
Here’s how you enable DFU mode on your iPad:
iPad with a Face ID:
If you own an iPad that is fingerprint enabled, here’s how you enter DFU mode:
- Connect your iOS device to a computer using an original cable and launch iTunes on the PC.
- Ensure that your device is turned off before you establish a connection.
- Hold the side button for almost 4 seconds.
- Keep pressing the button, and are the same time, press and hold the volume down button for around 10 seconds.
- Once the four seconds pass, leave the side button but hold the volume down button for another few seconds.
- When the blacked-out screen brightens, your device has entered DFU mode.
Hard Reset
If the camera problem persists, the last solution is to do a hard reset. However, when you hard reset all settings, you are wiping out all the data from your iPad. So, it is advised to do a backup before your reset.
- Go to the Settings app.
- Tap General section
- In General, scroll to the bottom and tap the Reset iPad option
- To erase iPhone content, click on the dialogue bar “Erase All Settings and Content.” to reset the device
- Select “Erase iPhone Data Now” to confirm the factory reset
If you have any security code such as a device password, Apple ID password, Face ID, or fingerprint, you must enter them to complete the hard reset.
Once you see the Apple logo, wait for your device to turn on. When your iPad is turned on, a slider says “Connect to iTunes” on the home screen. If data is stored in iCloud or iTunes backup, you can restore personal data by logging into your Apple account.
Lastly, All the factory defaults, emergency SOS features, customized settings, network settings, app data, and media are restored to the original version.
Contact Apple Support
If the methods described above don’t repair your camera, it indicates that it’s time to get professional assistance. In addition, you will save tons of money if your iPad has its warranty date.
What if the Camera Flashlight is not working?
If your camera works fine, but the flashlight isn’t, worry not. There may be some glitch or software issue that needs quick attention. Sometimes, when a camera works appropriately, but the flashlight won’t turn on, it is mainly because of a settings issue or glitch.
Here are some methods to fix the camera flashlight not working.
Change Flash Settings from Your Camera
If the iPad flashlight doesn’t work in the camera, it’s probably because its settings are auto-set. The auto-set activates the iPad flashlight occasionally. In easy words, the flashlight only works when the iPad camera indicates it.
Change the factory settings to turn on the flashlight without using the iPad camera. The steps below demonstrate how to fix and change flash settings from the Camera app:
- Open the Camera app
- Click on the Flashlight icon
- Reset the Auto option from Off to On
- Click on the flash icon and then the arrow up icon. You will now see a flash icon at the screen’s bottom edge. Click it and select the auto option
- Now close the Camera app and click the Home Button
- Swipe up to the Control Center to check if the flashlight work now
Turn on the LED Flash
An exciting feature that sets iOS devices apart from any other smartphone is its flash features for alerts. For example, if your iPad camera flashlight is not working, turn on the LED flash for alerts to trigger the flash for your camera app.
Check the default settings if you’ve selected the flash alert to receive any notification but no longer see the flashlight.
The steps to enabling LED flash include:
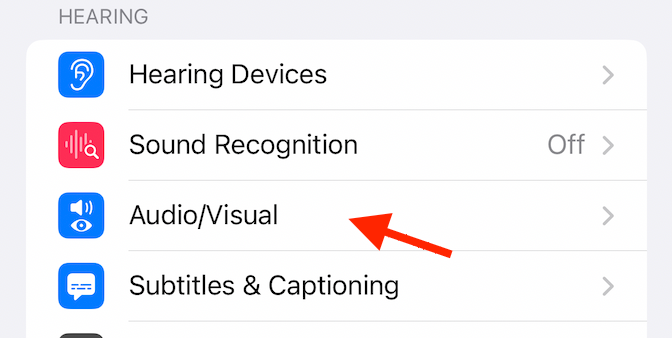
- Visit the Settings app
- Go into Accessibility
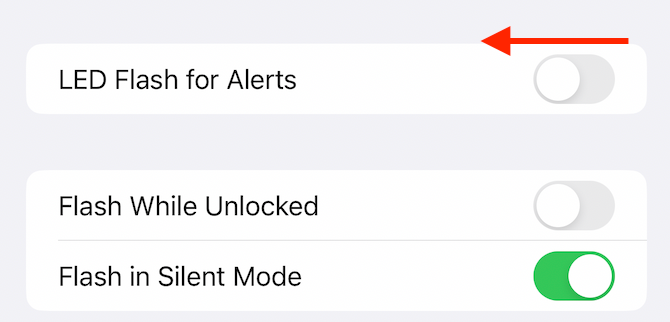
- Tap on the Audio / Visual option. Slide the toggle right next to an LED flash
- If it’s already enabled, disable it and then enable it again.
Wrap Up
Having a camera not working on your Apple device isn’t very pleasant. The primary purpose of any Apple device is to capture pictures. Unfortunately, with an iPhone camera not working, that purpose dies.
Before you give up and go to the local Apple store to buy a new iPhone or iPad, consider using this article as a guide to fix your camera.