
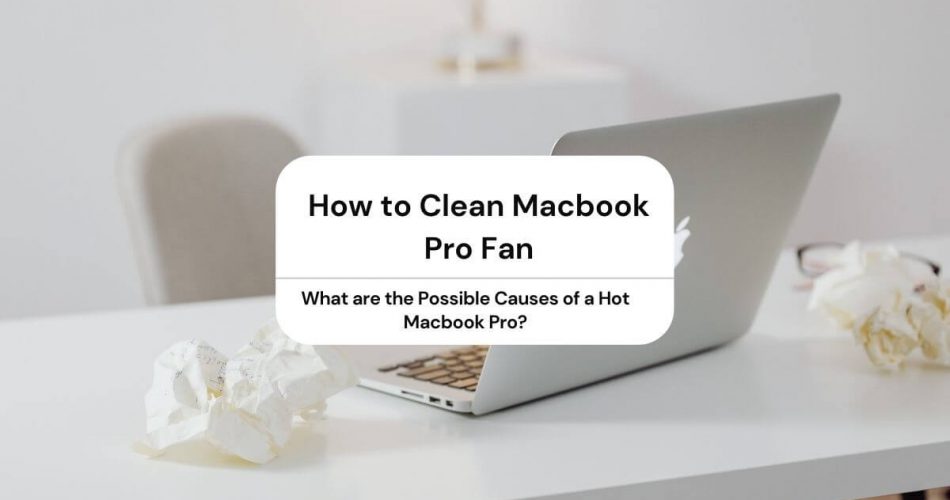
Does your Macbook Pro heat up frequently? Do you find yourself clueless in these situations? Maybe all you need to do is clean your Macbook Pro fan to prevent your device from heating up.
Well, there are so many things that could be the reason behind your Macbook getting hot often.
However, the most common reason is dirty fans. The dust particles clog them when you don’t clean them for years, resulting in a heated-up device.
But the good thing is – you can clean your Macbook’s fans from all the dirt by sitting at your home. But, of course, it’s not good for your Macbook to stay hot for an extended period.
Even if you’re not a tech-savvy person, you can still do some things here and there with your device and let it cool down a bit.
So read on and find out how you can clean your Macbook Pro fan to keep it cool and safe from future problems.
Table of Contents
Why Should I Cool Down My Macbook Pro?
You should always keep an eye on your Macbook Pro and take immediate action whenever it starts to get hot. Otherwise, it could lead to some severe issues with your device.
Most importantly, a hot Macbook can affect your hardware directly, including CPU and hard drive. Minor damage in these vital parts could lead to their poor performance and possible failure over time.
As a whole, it could affect your Macbook Pro’s functionality. For example, it may begin to run very slowly and freeze most of the time.
Plus, it can also shut down automatically in the middle of your important work. So if you didn’t save your work, everything would vanish in a blink of an eye.
What are the Possible Causes of a Hot Macbook Pro?
Several factors could heat your Macbook Pro quickly.
But before we start discussing them, you should note down how old your device is. If you’re using it for years (even decades), its age could be the reason why its fans are not working fine.
In that case, you might have to buy a new Mac device as soon as possible.
Anyway, let’s have a look at some common reasons why your Macbook Pro heats up within hours.
Multiple Apps Running Simultaneously
If you’ve installed dozens of apps in your Macbook Pro, they might be causing it to lag and heat up frequently.
Typically, it’s not a big deal to have several apps installed. But if those apps are demanding a lot from your CPU, your computer will have no choice but to heat up instantly.
Moreover, a third-party application stuck in a loop can also be a noticeable factor. Plus, watch out for the apps running in the background; too many at a time can make your Macbook hot.
Improper Airflow
If you usually use your Mac on the bed or your lap, it may be comfortable for you but not for your Macbook – at all.
Surfaces like carpet, sofa, couch, blanket, and bed can cause your laptop to heat up within minutes. Why is that so? As you place your computer on a softer surface, it blocks the air circulation.
This leads to improper air flow, meaning there is no way for your device to cool down while you are using it.
Dirty Vents
Your Macbook Pro has multiple openings which keep the airflow from the outside to the inside. These openings are mainly vents and fans.
More importantly, various dust particles can also come with the air, which clogs the pores of the openings, leading to overheating the device.
Of course, dirty fans sound normal for a laptop; but you must clean these openings twice or once a year. Otherwise, the dust will suppress their ability to operate fully over time.
How to Clean a Macbook Pro Fan?
If you think that opening up a Macbook Pro is a complicated thing to do, that’s not the case. It’s pretty easy to take off the bottom cover but with great focus.
Just find the tools required to open it up and access the primary circuit to clean off all the dirt. So gear up, and let’s start!
Tools You Need
First thing first, you’ll need to find some tools. The good thing is you may already have them at your home. However, if not, you can easily buy them from your nearest store or online.
Here is what you need:
- A P5 Pentalobe Screwdriver: Generally, Macbooks consist of P5 screws. So you’ll especially need a P5 pentalobe screwdriver to open them up.
- Compressed Air: It’s the easiest and most convenient way of removing even the tiniest dust particle.
- A Clean Cloth: In case you want to remove the dirt manually.
- Cotton Buds: If your Macbook has stubborn dirt particles, cotton buds or swabs can easily remove or loosen them up.
- Guitar Picks: These are essential in cleaning up a Macbook that is a 2016 model or newer.
- Suction Cup: Again, essential for cleaning up a Macbook that is a 2016 model or newer.
- Attention and Care: You must not have anything else on your plate while cleaning up your computer. Or else you might mess up or lose any of the screws.
Step 1: Unplug Your Macbook Pro
Before moving further, make sure that you’ve not connected your laptop to an electric source. If so, you might get an electric shock as soon as you open up your device.
There is also a chance that your charger or maybe a wire in your Macbook Pro gets burned.
Step 2: Remove the Screws of the Bottom Cover and Open It Up
Now, flip your Macbook so that you can see its bottom part.
Carefully take your P5 screwdriver and start loosening up all the screws you can see. Remember the placement of each screw; you don’t want to spend an hour trying to find the suitable place for every screw.
Once you remove all the screws, lift the bottom cover with gentle hands as some Macbooks have ‘holding clips’ to keep the cover in the center.
So look out for all the clips and try to unclip your Macbook’s bottom cover gently.
For your information, Apple gave a new idea to its users to remove the bottom cover of their Macbooks.
The idea was to use a suction cup along with a guitar pick to remove the cover, in addition to using a pentalobe screwdriver for removing the screws.
You can use a suction cup to lift the lower edge enough for a guitar pick to open it up entirely while unclipping any hidden clips. After that, you have to slide the bottom cover down, and it will come off in your hand.
Step 3: Locate the Fans
You can see all the internal parts of your laptop as the bottom cover is now removed. Before rushing into it with your compressed can, take your time and inspect everything.
Watch out if there is any sensitive or vulnerable wire that you don’t want to damage while removing the dust. Also, mark those areas that have a considerable dust buildup.
After that, locate the fan or fans; your laptop can have more than one. If you’re not sure what they look like, find the circular black fans. Plus point, they will seem the dirtiest among all the components as they are responsible for passing the air in and out of the laptop.
So precisely, spot the fans and gear up your tools to clean it up!
Step 4: Make Sure to Remove the Dirt Carefully
You’ll be having two options to clean your device; with a clean cloth or with compressed air.
With the Cloth
If you choose this option, you’ll have to be very gentle with your hands. Start by keeping the fan in its place (not spinning) with the help of your finger.
Now, remove the dust from the fan’s surface through a clean cloth with light hands. Don’t forget to dust off your cloth when it gets covered with the dirt, or else, your fan can be dirty again.
To stay on the safe side, you can also clean other openings of your laptop, including the vents. This way, you can improve the cooling capability of your device even more.
In the end, give the fan a blow to get rid of any dust residue, and you’re done.
With Compressed Air
Well, you need to be cautious with this option too. A little wide throttle of the compressed air can, and you may damage any part of your laptop.
Anyway, pick up the can and use the compressed air to blow dust from everywhere you can see it.
When you come close to the fan, hold it with your finger to spin from the air pressure. This part is essential!
In case you forget to do it, your fan will start spinning faster than usual. This can cause damage to its motor, which will be another headache to deal with.
Lastly, clean the fan thoroughly with the cotton swabs, especially the stubborn dust particles. Give the fans some blows, and they will be as clean as new.
Step 5: Reattach the Bottom Cover
After cleaning the fans, you have to put everything back together like before.
Just pick up the bottom cover, place it on the back of the laptop, and press all the clips to keep it in the center.
Lastly, put the screws back in their designated positions, tighten them up with the screwdriver, and you’re good to go.
The Bottom Line
Cleaning your Macbook Pro fan never sounded this easy, right?
However, if you opt for the compressed air option, it will be better to keep the can at an angle of fewer than 45 degrees. This way, you can prevent the dust particles from getting back into the fan.
Just clean your Macbook Pro’s fan once or twice a year to increase your device’s longevity and enhance its performance.