
Mac camera, also known as the iSight camera and FaceTime camera, is a built-in camera in MacBook. It is beneficial and makes using third-party apps fun. The built-in MacBook camera can be used to get camera access to popular apps like FaceTime, Zoom, Skype, WhatsApp, etc.
There are countless uses for the MacBook camera. The camera on Mac offers exciting features with a high-quality video call. You can also take pictures with the iSight camera.
Regardless of the uses of Mac’s camera, Mac users must know how to control this built-in camera. This article explains why and how you should disable camera access in your MacBook.
Table of Contents
Why Should You Turn off the Camera on Your MacBook?
Data breaches and safety hacks are the greatest fear of every person. One of the reasons you should turn off the camera on your MacBook is to prevent any unknown privacy breaches. Disabling Mac’s built-in camera is one of the safest privacy practices.
Unfortunately, all the apps on your Mac have camera and microphone access, making it prone to hacking.
In addition, MacBook’s camera can also be used to spy on people from third-party applications or illegal software, such as spyware or viruses. Read on to explore why you should disable the camera on Mac.
- Privacy and Security
Accessing someone else’s devices have become relatively easy with so much technological advancement. As a result, many users are concerned about webcam privacy and security.
The thought of someone else accessing the camera on your MacBook is pretty nerve-wracking. While this is less likely to happen, mandatory precautions are always suggested.
So, one of the main reasons to disable the camera on your MacBook is to prevent hackers or any software bug from accessing your device.
- Battery Saving
Another good reason to turn off access to the camera is to prevent battery drainage. The built-in camera on Mac is always working. Whether you have opened it, it’s always functioning in the back. As a result, it consumes more power than other apps and websites tab on your MacBook.
It is wise to disable the camera on your MacBook to stop unnecessary battery consumption. Video calls, microphone access, and live streaming consume a lot of battery and energy, heating the Mac. So, you can save up your battery by disabling the Mac camera.
- Saves Storage
Another reason you should turn off the camera on MacBook Air is to save the storage. It is pretty easy for Mac’s built-in camera and internal microphone to record audio and take photos and videos without notifying you. As a result, it can take up so much space in your hard drive, especially in your backup folder.
5 Methods to Disable the Camera on your Mac
Whether it’s a security reason or energy consumption, we have assembled five easy ways to disable the camera (also called FaceTime camera or iSight camera) on your Mac.
Disable the Camera on Mac by Covering the Lens
If you are not looking to change the settings of your MacBook or do anything software-related, you can prevent the webcam from recording videos and audio using a tape, sticker, or lens cover. This is a straightforward approach to turning off the Camera on MacBook.
Disable the Camera from the Settings
If you feel like covering the webcam lens is insufficient, you can disable the camera on Mac from the general settings method. Follow the steps below to do it;
- Tap on the Apple logo at the menu bar
- Open System Preferences inside the drop-down menu
- Choose Security & Privacy tab from the system preferences
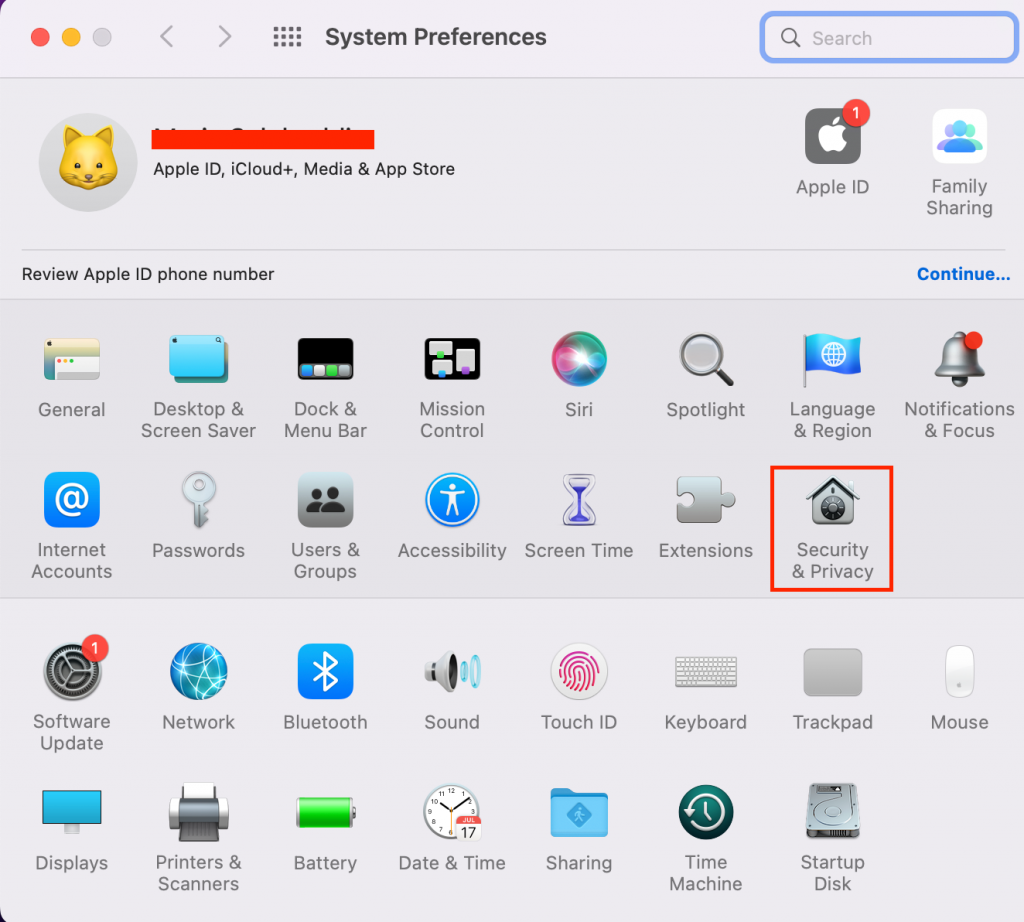
- A screen featuring options for the Security & Privacy tab will open
- Select the camera option on the left pane
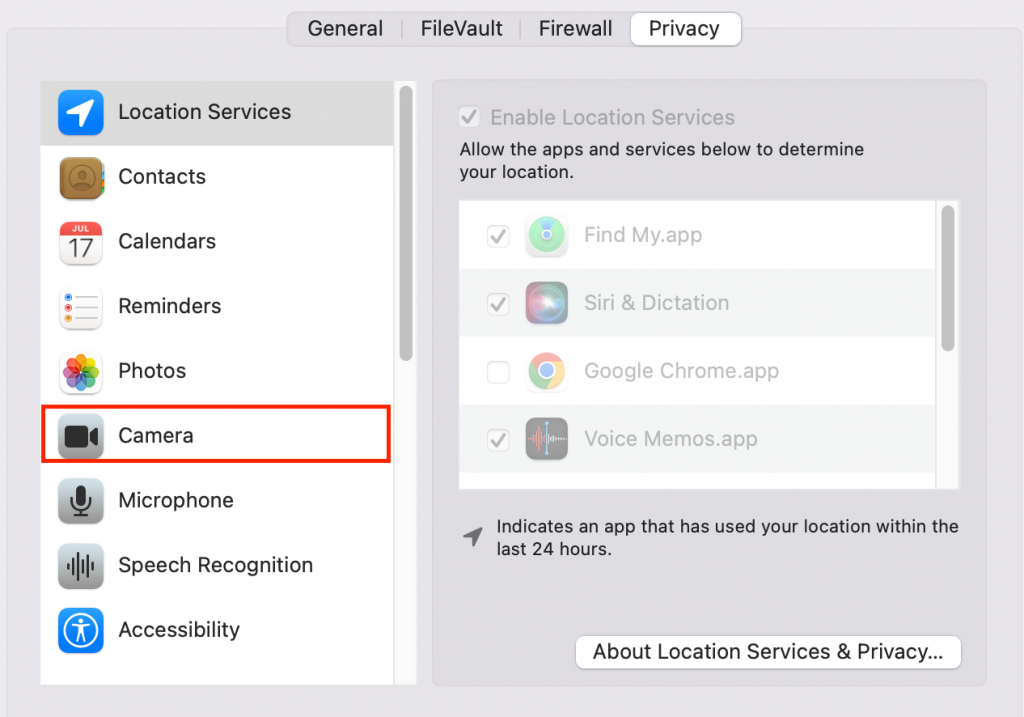
- From the right pane, uncheck all the apps tab with access to the Mac camera.
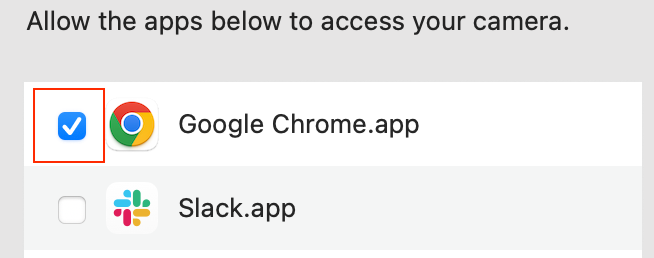
As a result, your MacBook Pro will automatically stop the unmarked apps from accessing the built-in webcam.
Restrict the Websites from Using the Camera on Mac
If you want the websites to not access your camera on Mac without completely turning off the camera, refer to the instruction below. Remember that this method only prevents websites from accessing the camera on Mac. Other default apps can still use cameras on Mac.
- Open the default web browser “Safari” on your Mac
- Click Safari Menu from the menu bar
- Open system preferences
- Choose Preferences from the system preferences
- Click “Websites Tab” on the next screen and select the camera from the left panel.
- Now, select the “Ask” or “Deny” option for the websites listed below, “Allows Camera Access to the Websites.”
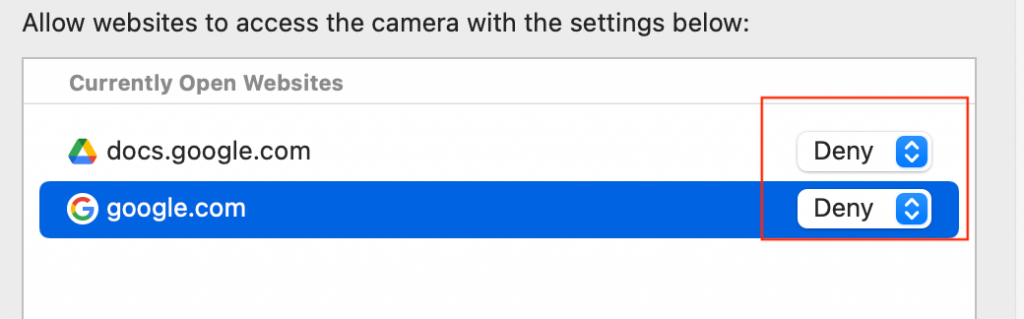
The “Ask” option will show a prompt restricting the websites from using the built-in cameras. On the other hand, the “Deny” option will allow the websites to access the camera on Mac.
Disable Camera on Mac from Parental Controls
Another great way to disable cameras on Mac models like MacBook Air and MacBook Pro is by enabling parental controls.
The parental controls feature allows you to disable the camera on your MacBook for different user accounts while it allows access to another user account.
- Open system preferences
- Select the “Parental Controls” option from the system preferences
- The parental controls screen will appear. Tap to enable the parental controls button
- From the parental controls screen, choose “User Account” from the left pane. Uncheck the users to disable access to the camera.
Altogether Disable the Camera on Mac
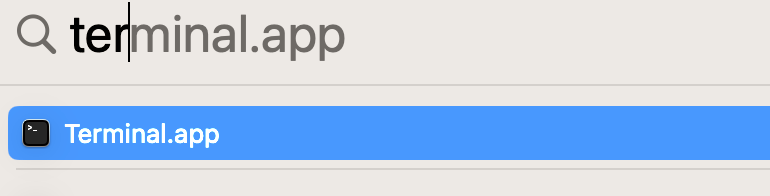
You can completely turn off the camera on your MacBook through the terminal. Unfortunately, it means you won’t be able to turn on the camera for any purpose. No default settings, applications, or third-party apps can access the camera on Mac.
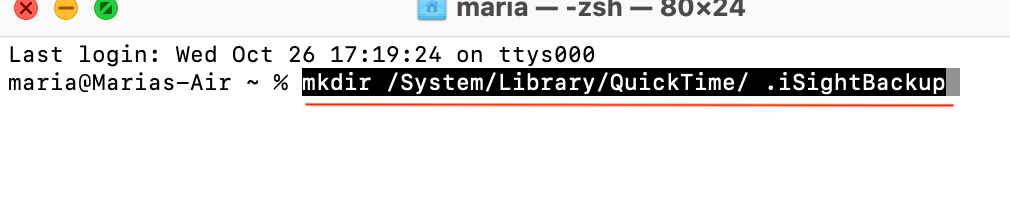
Step # 01 First, you should create a backup folder for the component file. A backup will allow you to access the camera if you change your mind. Next, launch the terminal and enter the following command.
mkdir /System/Library/QuickTime/ .iSightBackup
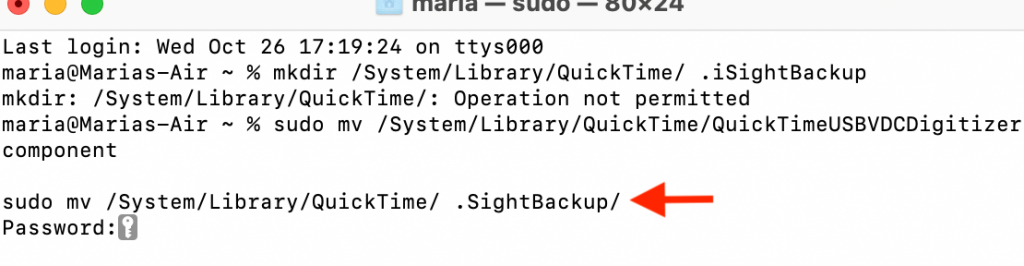
Step # 02 The quick time file of the FaceTime camera on Mac allows the apps to use the built-in camera. So, follow the below-listed commands to disable it;
sudo mv /System/Library/QuickTime/ .SightBackup/
sudo mv /System/Library/QuickTime/QuickTimeUSBVDCDigitizer.component
Step # 03 Now, restart your MacBook, and it’s done! Whenever you want to access the camera on Mac, a prompt with a lock icon will appear on your screen showing “No Camera Available.”
Use Third-Party Tools
If you don’t want the default method to disable the camera on Mac, you can also download any third-party tool for it.
The third-party tools to disable cameras on Mac offer a high level of privacy and safety. In addition, these camera-blocking tools offer a range of features to block the camera.
Consider the following checklist before installing any third-party tool to disable the built-in MacBook camera;
- Make sure the third-party tool is compatible with the macOS system preferences.
- It shouldn’t ask for access to another third-party tool.
- Ensure your MacBook and macOS version is compatible with the third-party tool.
- Check the tool you choose doesn’t require excessive permission to access your device, such as; personal information, admin password, financial credentials, app data, access to other apps, etc.
What Happens When Your Turn Off Camera on your MacBook?
Turning off the camera on your MacBook restricts the app from accessing or recording your activity. For example, if you are using Skype and as you know, Skype is a video call app used to communicate with your network through audio and video calls. Your Mac will not grant Skype camera permission with the camera option turned off.
How to Disable the Internal Mic of Your Mac?
If you want to turn off the internal mic of your MacBook to prevent it from recording app audio, follow the same methods as above.
Final Words
The built-in camera option in MacBook is an excellent feature that most Mac users take for granted. However, with so much innovation, it is wise to take significant precautions to save yourself from future data mishaps.
Taking necessary safety methods to prevent sudden intrusion is a necessity. For example, you can turn off the camera on your MacBook to keep your privacy secure. We hope the methods and reasons explained here will help you protect your device’s privacy.
However, turning the feature can mess with the ambient light sensor and other brightness options available on the Mac.